SECTION 4 (From The 'Halloween Notebook') |
| So the long side pieces sat behind my shed out back for a year. Then, when I started seriously planning on what new features I wanted to include in my display for 2005, I decided that I would create (out of blue foam insulation board) a long low ( approx 2'-0" high) stone wall to define the left and right sides of the graveyard. I had just started to sketch out what I had in mind when I thought of those two crib pieces sitting out back - and so the idea was born! They would become low fence/gate sections in the stone wall. |
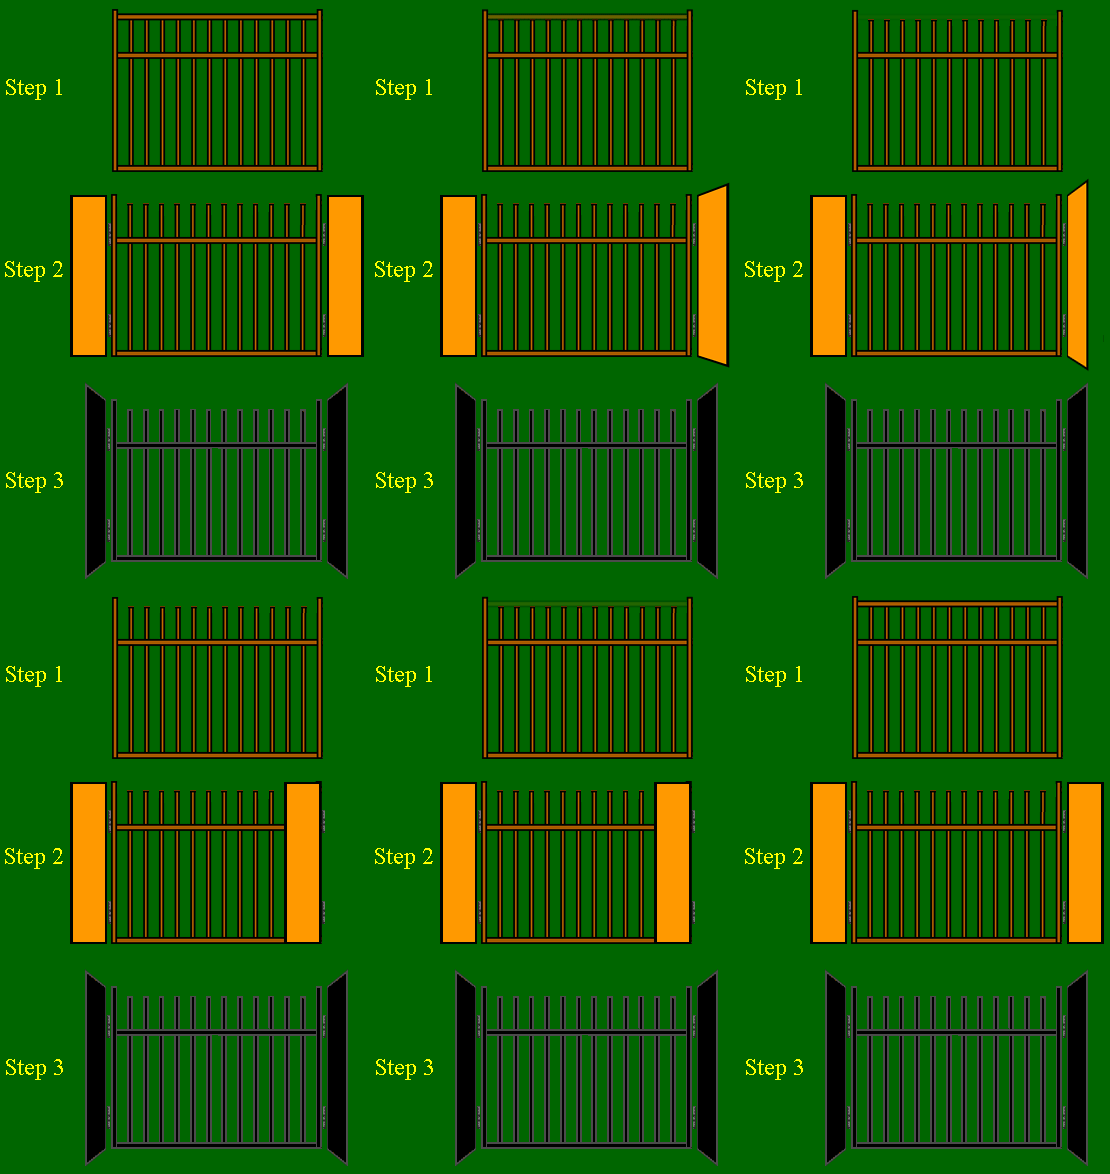
 STEP ONE: Remove the top rail. How to do it will be determined by how it was originally put together. Note: on some cribs the center rail is hinged so the top section can be lowered to get a child in and out of the crib. If this is the case, secure it in an upright position (removing the top rail will undoubtably remove the means of holding the top bars upright).
STEP TWO: Cut two 1/6 (or 1x8) boards to a length equal to the top of the fence. Attach one on either side of the fence with hinges (see orange sections in drawing). This will create a way to stablize the fence and, by hinging them, the flaps can fold in for storage. STEP THREE: Paint your fence sections with a flat black paint and they are ready to go! |
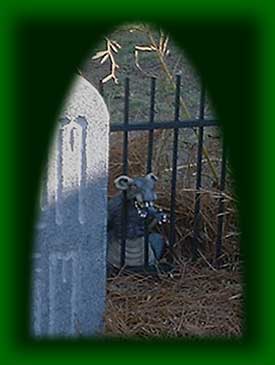
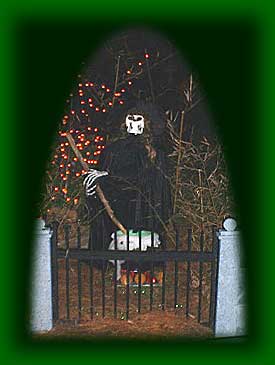
  Here are two photos showing the 'iron fence' I created. |
| My simple $3.00 yardsale purchase, along with some scraps of lumber, nails/screws and paint, ended up as gates for my archway and iron bars for my stone wall. |
 YOU CAN GO BACK TO |  OR THE |